HP Image Assistant (HPIA) is a vital tool that assists IT admins to manage their fleet more efficiently with a simpler setup and execution process. With recent feature updates and added capabilities, HPIA is currently on version 5.1.2 at the time of writing this blog post.
HPIA compares a known good configuration to find missing and out of date components like BIOS, Firmware, Drivers, installed software and much more and then provides recommendations to help maintain, develop and support images. A HP developed reference image is available to compare and update your entire fleet within minutes.
HPIA eased up the tasks of maintaining a fleet of any size with traditional management tools like Microsoft Endpoint Configuration Manager and with the move to Modern Management, HPIA can be leveraged just as easily on Mobile Device Management (MDM) solutions like Microsoft Endpoint Manager. In this blog post we will cover how you can setup HPIA in a Microsoft Intune environment and push it to all your client devices with a few simple steps.
For more details, user guide and supported platform list, visit HP Image Assistant | HP Client Management Solutions
So, let’s get into it, how to setup HP Image Assistant using Microsoft Endpoint Manager.
Download HP Image Assistant
Download the latest version of HPIA from HP Image Assistant | HP Client Management Solutions. The name will be of the format hp-hpia-5.1.2.exe. Create a new folder and add the downloaded hp-hpia-5.1.2.exe file here, we are creating C:\HPIA. Remember this folder and name of the file because we will need it in the next step. For our example we renamed hp-hpia-5.1.2.exe to “hpia.exe”.
Install and Uninstall files
In the C:\HPIA folder we will also be adding two cmd files, one to Install and other to Uninstall the application.
For the Install file add the following snippet to a text file and save it as Install.cmd
@ECHO OFF
PUSHD "%~dp0"
"hpia.exe" /s /e /f c:\hpia
For the Uninstall file add the following snippet to a text file and save it as Uninstall.cmd
@ECHO OFF
PUSHD "%~dp0"
powershell -executionpolicy bypass -command "remove-item c:\hpia -recurse"
Add these two files to the same folder (C:\HPIA) that hosts the hpia.exe file.
Preparing HPIA for Intune
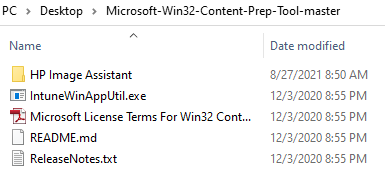
To add HP Image Assistant to Intune we first need to prepare the application by using the Microsoft Win32 Content Prep Tool, which is hosted on GitHub by Microsoft. This is the format needed for the application to be uploaded as a Win32 application in Intune. After downloading the tool you’ll need to extract the files, this location can be anywhere such as “Desktop”. After extracting the files, you should see something like the below –

Double-click IntuneWinAppUtil and you should see a window with the below –

- Enter the folder location of the HP Image Assistant source file that you downloaded in the beginning.
- Enter the name of setup file, which was downloaded in Step 1, in our case “hpia.exe”.
- Enter the output folder, this folder will contain the file with “.intunewin” extension. This folder will be created in the extraction location of the prep tool.
- Enter Y to create the output folder.
- Enter N to specify catalog folder.
You should have an entry as shown below –

When finished you should see your output folder listed as shown below -
Within the HP Image Assistant folder you’ll see the “.intunewin” file as shown below –

Setting up HPIA in Intune
Now that we have the Win32 app package file created, we can begin to add HP Image Assistant to your Intune environment.
- Open https://endpoint.microsoft.com/ and enter your credentials.
- On the left pane click on “Apps”.
- Under Overview click on “All Apps”.
- Click on “+ Add”.
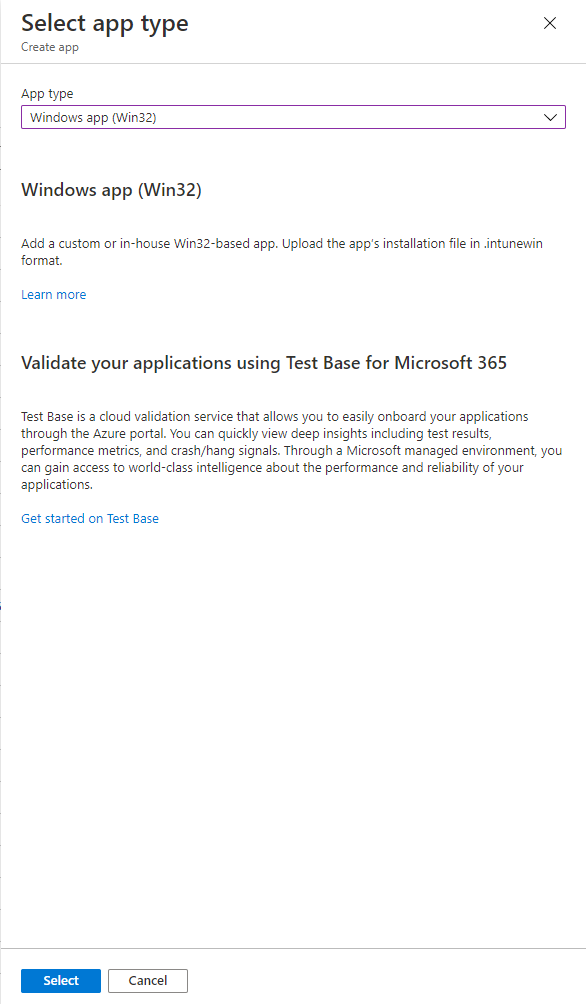
- Under Select app type, click the dropdown and select “Windows app (Win32)” and click on “Select”. (see below)
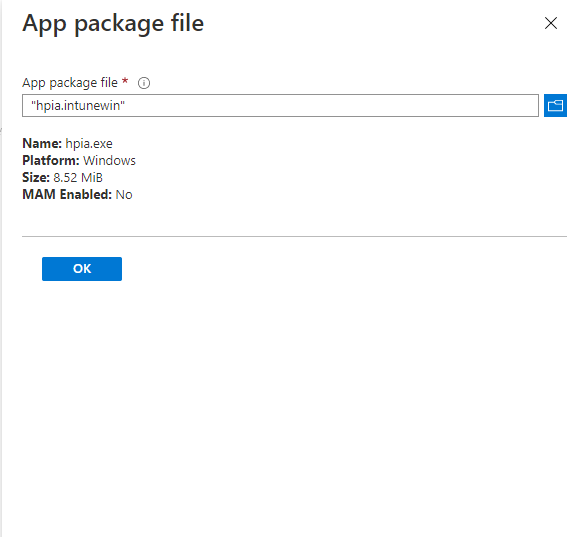
- You will now see App information with Select file *, click on “Select app package file” and you’ll see App package file on the right pane.
- Browse to your “.intunewin” file location, this will be the location in the Win32 Content Prep Tool within the folder that you created for HP Image Assistant.
- After you add your package file you should see something as shown below.
- After clicking “Ok” you will see a screen like the below.
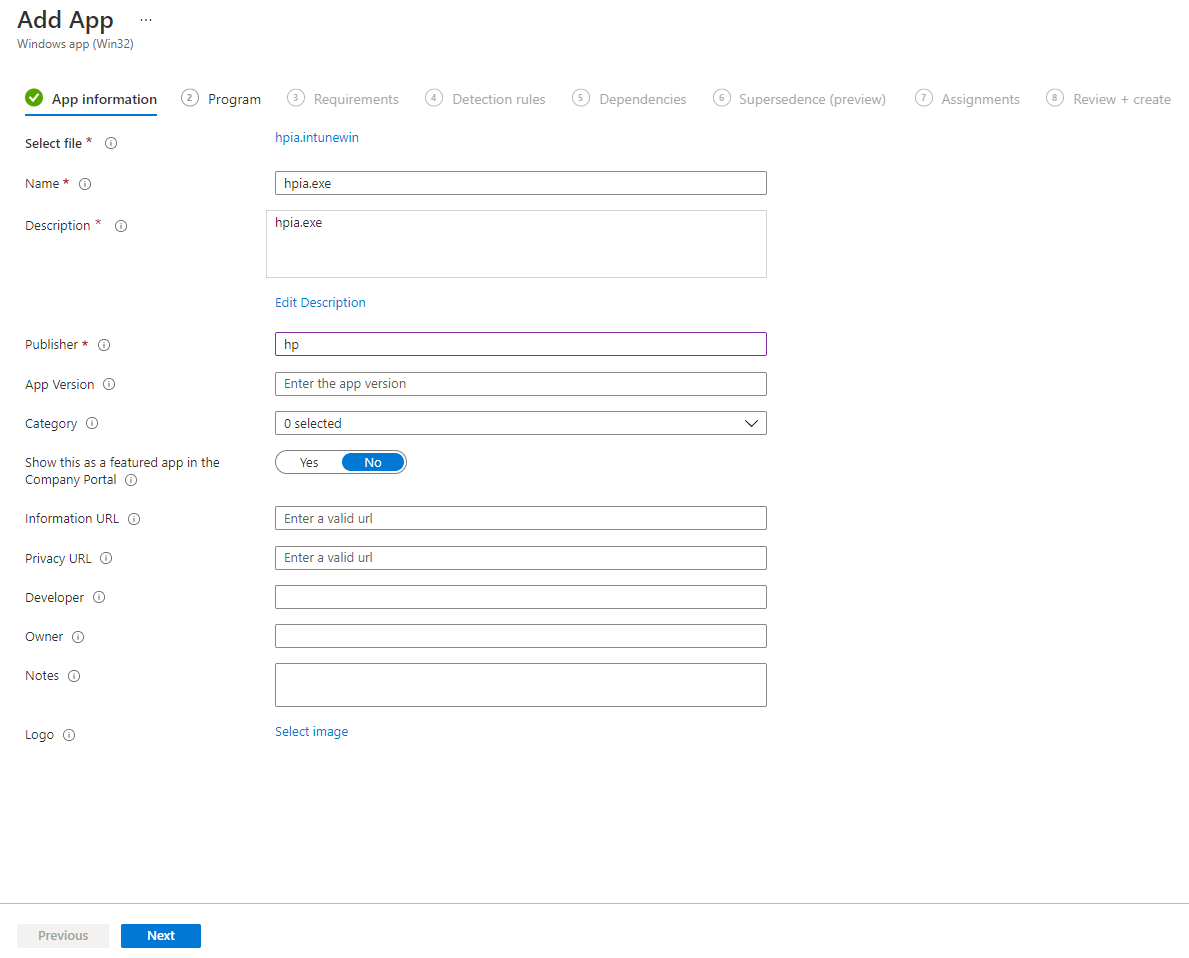
- After you enter the Publisher and any other details, click on “Next”.
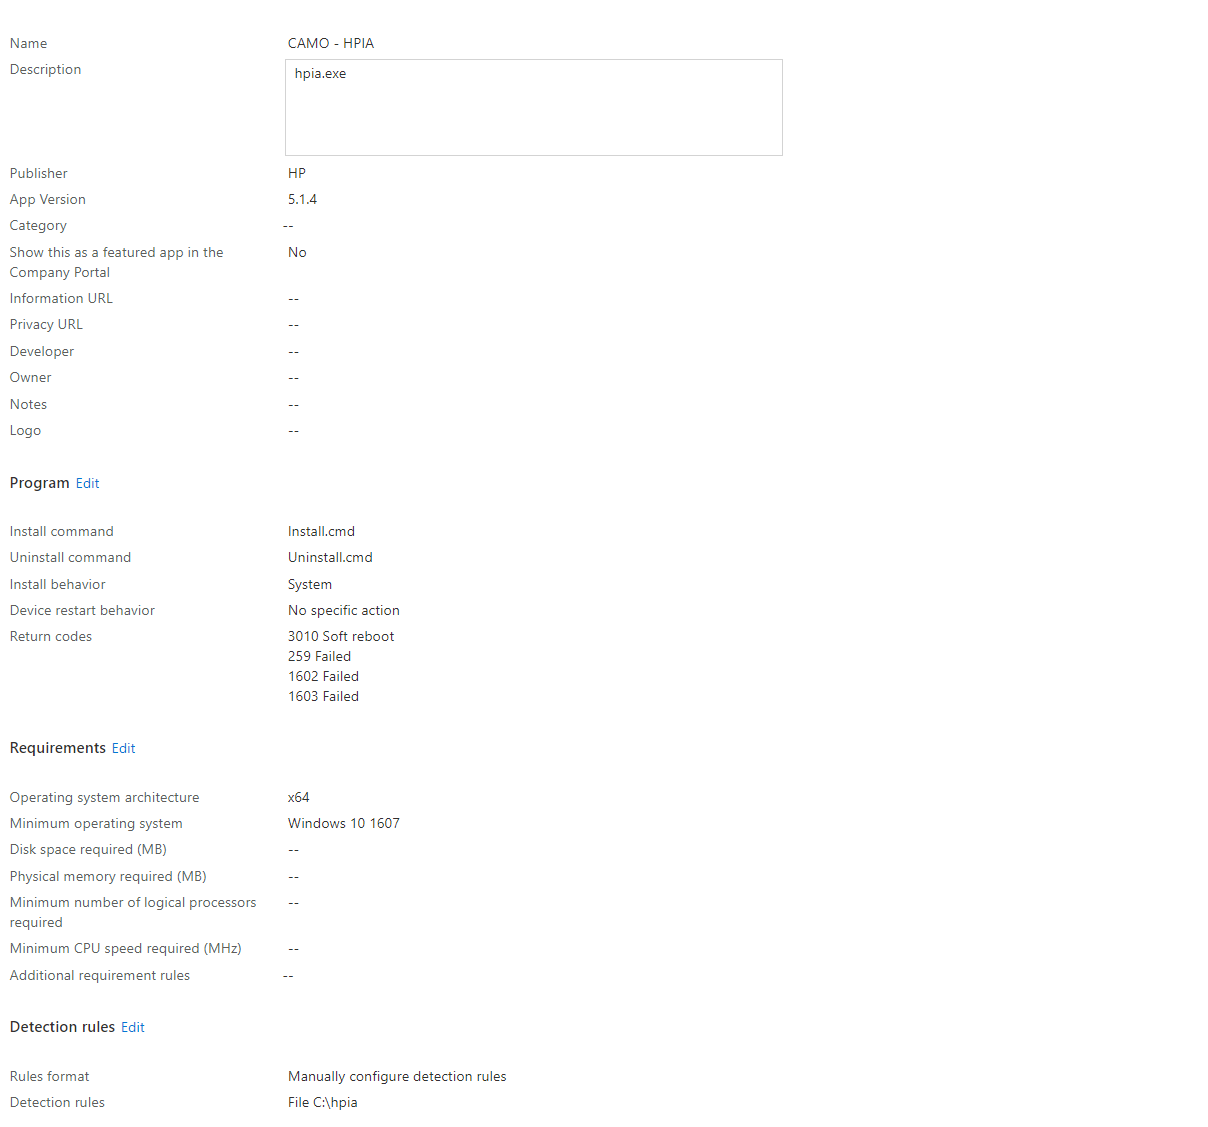
- You will now see something as shown below for Program.

- Enter the value shown for Install command –
Install.cmd
- Enter the value shown for Uninstall command –
Uninstall.cmd
- Click “Next”.
- Enter the Return codes and Code Types - 3010 – Soft reboot, 259 – Failed, 1602 – Failed and 1603 - Failed
- You will now see something like the below for Requirements.
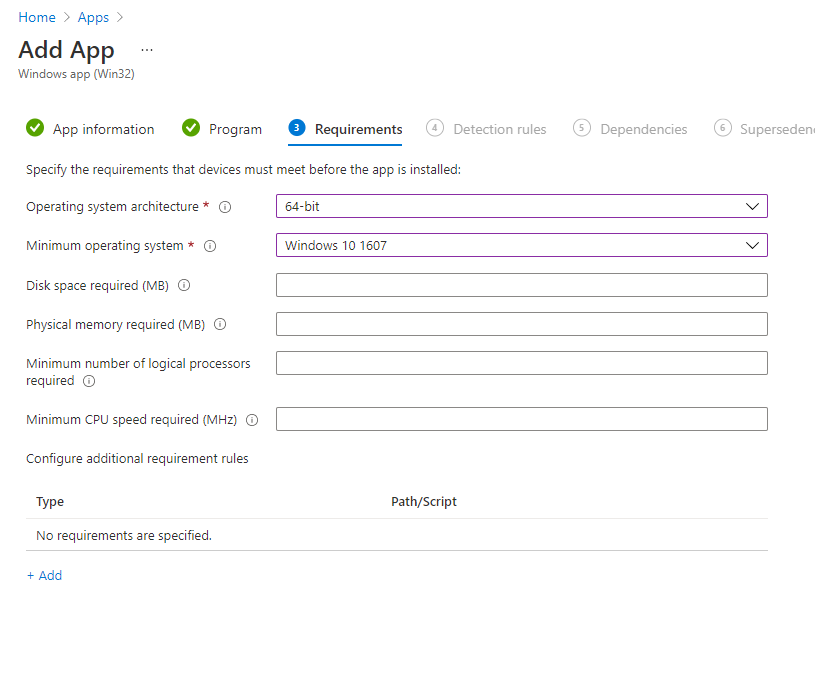
- Select “64-bit” for Operating system architecture.
- Select “Windows 10 1607” for Minimum operating system and then click “Next”.
Note: You can view all supported platforms and Operating systems here - HP Image Assistant Supported Platforms | HP Client Management Solutions
- You will now see something like the below for Detection rules.
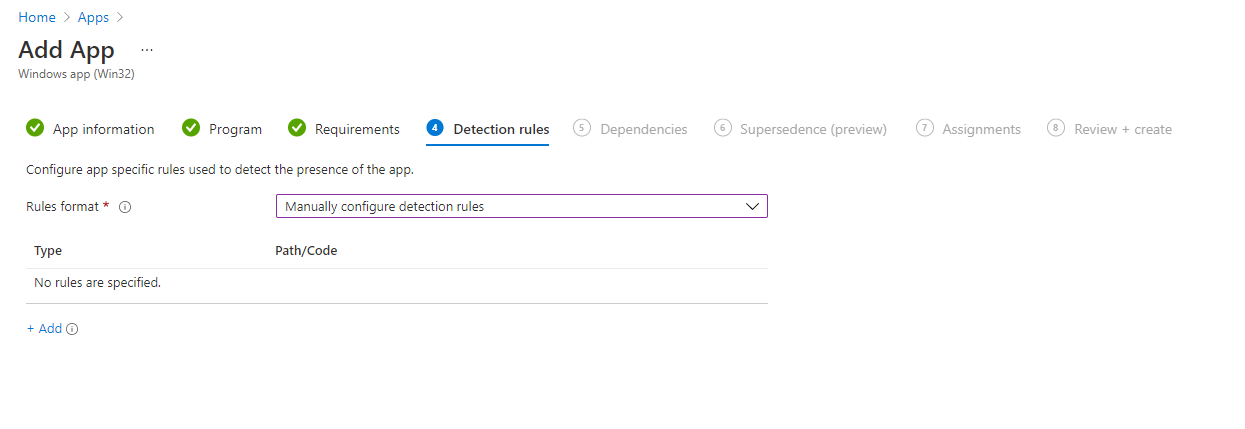
- Select “Manually configure detection rules” for Rules format.
- Click on “+ Add” and you’ll see a Detection rule menu display on the right pane like the below –
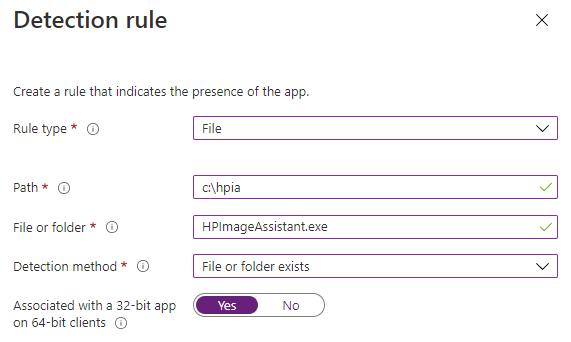
- Select the value “File” for Rule type.
- Enter the value shown for Path – c:\hpia.
- Enter the value shown for File or folder – hpimageassistant.exe
- Select the value “File or folder exists” for Detection method.
- Select the value “Yes” for Associated with a 32-bit app on 64-bit clients.
- Click on “Ok” and then click on “Next”.
- You will now see something as shown below for Dependencies.

- A dependency doesn’t need to be added so click on “Next”
- You will now see something as shown below for Supersedence.
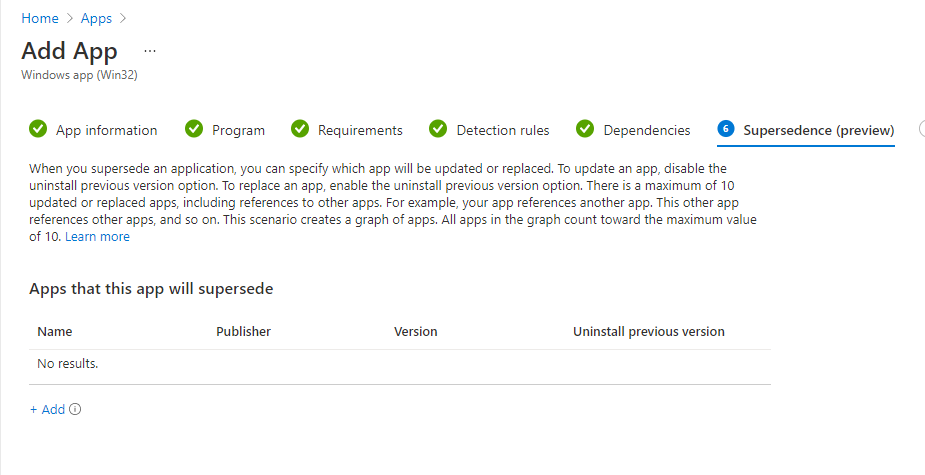
- Like the Dependencies menu we don’t need to add anything for Supersedence, click on “Next”.
- You will now see something as shown below for Assignments.

- From this menu you can add groups, users or devices depending on what is needed for your environment and then click on “Next”.
Note: Ensure that the selected platforms are on the Supported Platforms list HP Image Assistant Supported Platforms | HP Client Management Solutions
- You will now see something as shown below for Review + Create.
- Review all your entries and if everything looks great click on “Create”.
- After you create the app it will look something like this shown below.
Customize Assignment
You also have the option to customize the experience for the end user by following these steps:
- Select Properties in the Manage blade of hpia.exe and scroll down to Assignments and click edit.
- Select the group that you wish to change the settings for
- A menu will pop up as shown below and you can customize notifications, delivery optimization, app availability and deadline. Click Save after you have made the necessary changes suitable for your environment.

View Installation Status
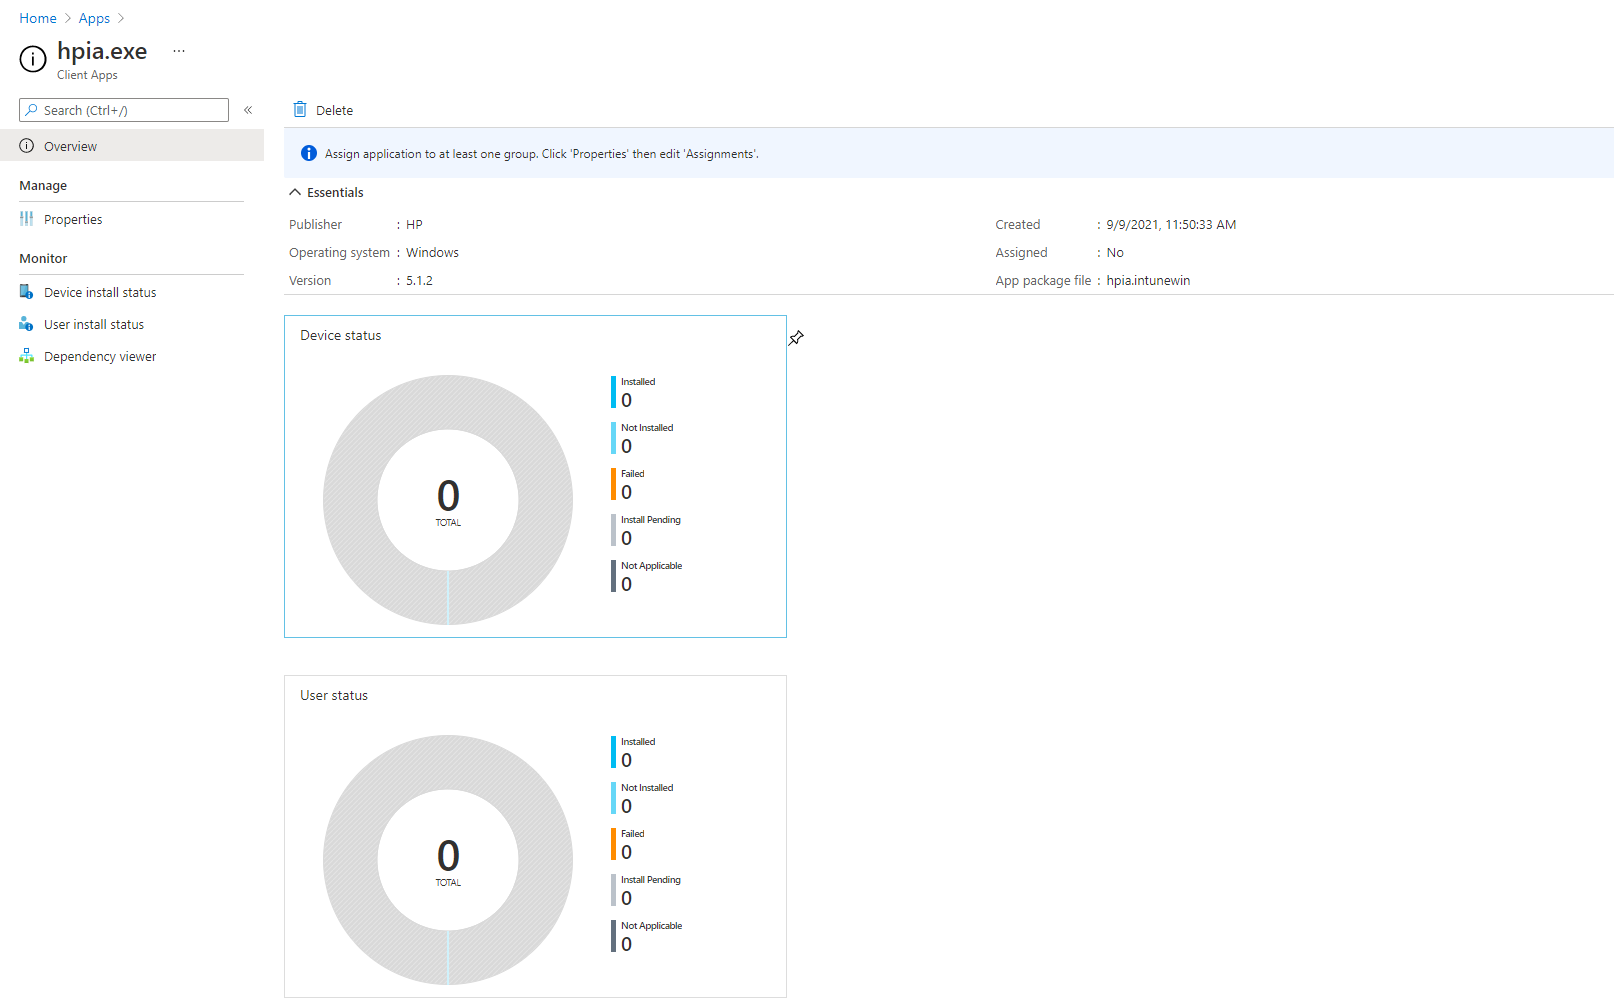
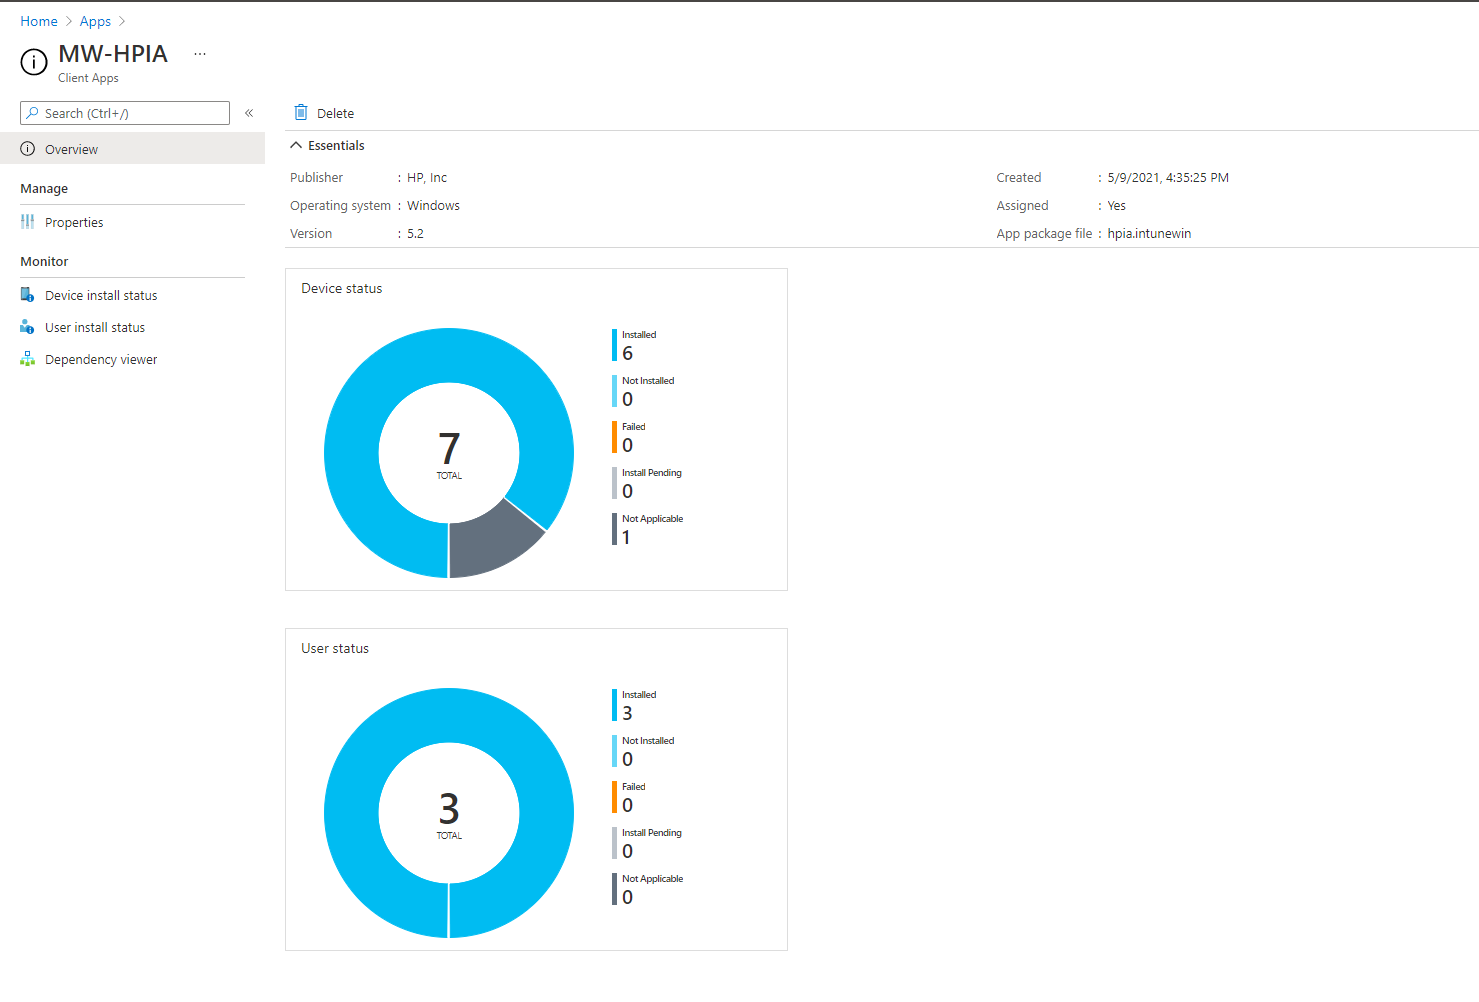
At this point, the application will be installed on the machines with assignment type ‘Required’ and availability and installation deadline set to as soon as possible to their assignment settings. You can configure other delivery schedules and the end user experience will vary based on that. The graphical dashboard in Endpoint Manager will show you the status of Devices as well as Users to easily monitor and troubleshoot the installation of HP Image Assistant.
After HPIA has been installed on an HP device, it can be used to update the BIOS, drivers, software on your fleet within a few minutes. So, let’s go over that.
Running HP Image Assistant
Now that we have HPIA installed we can create a script within Microsoft Endpoint Manager to run the tool with customizable parameters.
- Create a new script with either PowerShell ISE or notepad. If using notepad be sure to save the file with a .ps1 extension.
- Here is a sample script that can be used:
Powershell.exe -ExecutionPolicy Bypass -Command "C:\HPIA\HPImageAssistant.exe /Operation:Analyze /Category:All /Selection:All /Action:Install /Silent /ReportFolder:C:\HPIAReport /Softpaqdownloadfolder:C:\HPIASoftpaqs"
Note: This script can be customized with different parameters based on your environment. The HP Image Assistant User Guide has different parameters and sample scripts.
- Select Devices from the left pane.
- Under “Policy” click on “Scripts”.
- Click on the “+ Add” at the top and select “Windows 10”. (You’ll see a window like the below)
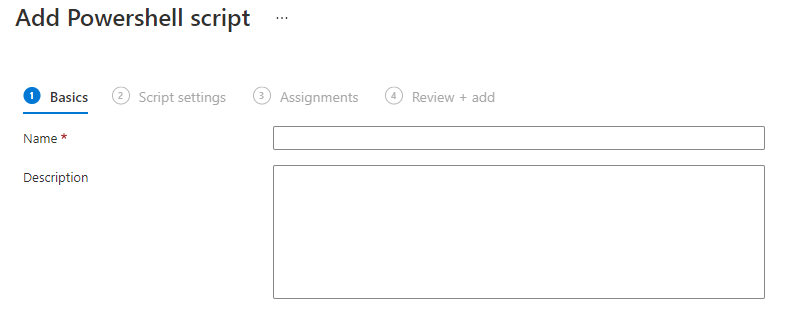
- Enter a name for your script (and a description if you’d like) and then click Next.
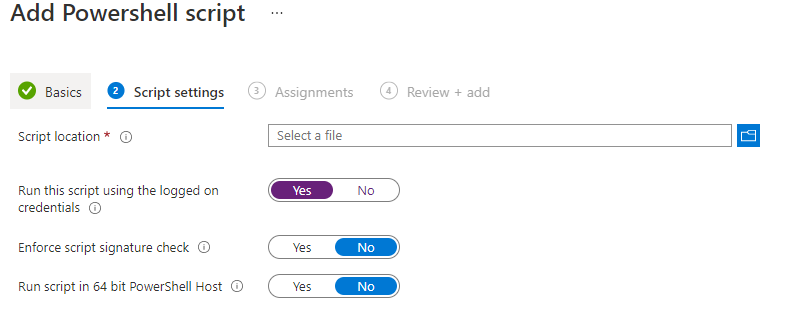
- Select the “.ps1” file you created previously and switch the “Run this script using the logged on credentials” to Yes and click Next.
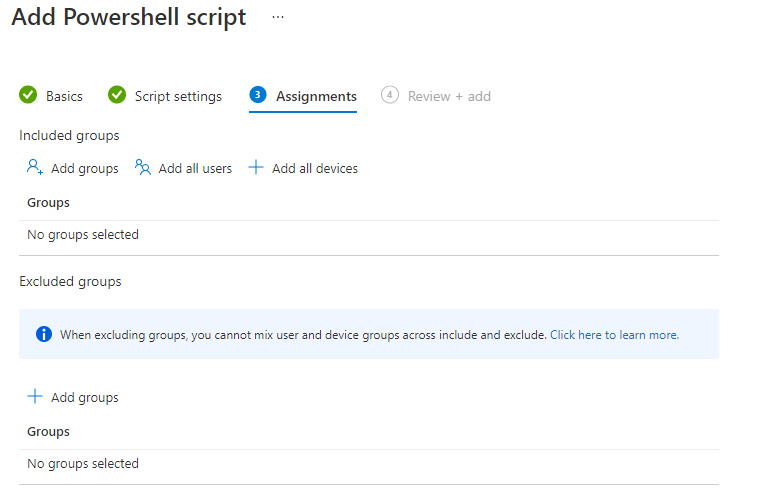
- Add the Included and/or Excluded groups and then click Next.
- On the Review + add menu, click on Add.
A few important things to note about using Scripts in Intune:
- Once a script executes, it won’t execute again unless the script or policy has changed.
- If the script fails, the Intune management extension retries the script three times for the next three consecutive Intune management extension agent check-ins.
- On devices shared by multiple users, the PS script will run for each new user when they sign in.
- PS Scripts execute before the win32 apps.
- PS scripts will time out after 30 minutes.
To rerun the scripts, create multiple duplicate scripts assigned to specific schedules based on how often you wish to run the script in your environment to update the devices.
Now that we have installed HPIA successfully on client machines, the client machines should have a Report folder where all update softpaqs will be downloaded. Depending on the parameters you specified in your environment the content might look a little different.
We hope this post is helpful and we will follow up with additional use cases. Please feel free to comment with any questions.
Authored by Casey Monroe and Meghna Gupta