2. Linked accounts & Paired products
Linking accounts is intended to make order submission easier across accounts. Accounts using the Outsourcing functionality in Site Flow can be linked as the first step.
In this article, you will learn how to send a linking invitation from one account to another.
This article is the second one in this series, following the SETUP one.
Important Notes:
- Orders can only be processed if they come from a linked account.
- Unlinking an account while blocking order submission will not impact orders in progress in Site Flow. Instead, orders can be submitted to another Site Flow Linked account.
Table of contents:
- Linked accounts
- Pending invitations
- Account verification
- UI Account verification
- API Account verification
- Blocked orders
- Paired products
- No paired products
- Paired products SKUs
- Delete / disable
- Filter
Linked accounts
Sending invitations
Linked Accounts (see #1) is located in the SETUP tab (see #2). Click the New Invite button (see #3) on the top-right corner.
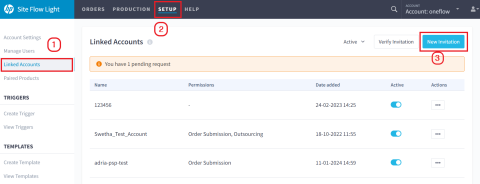
The New Invitation window appears where you can invite an account owner to link with your account.
Once the invitation is accepted, orders can be submitted between accounts.

Type the Recipient email and select the Account Type from the drop-down: PSP or Brand.
To outsource with another PSP, select PSP as the account type. Finish by clicking Send.
NOTE: Outsourcing only works between PSPs, but not with Brands.

- Check the Order Submission box to allow you and the account you are linked with to send and receive orders to each other via our API.
- Check the Outsourcing box to allow you and the account you are linked with to outsource paired product SKUs.
NOTE: For Outsourcing, you must enable both Job Submission and Outsourcing.

An invitation email is sent to the other PSP, indicating their invitation code and permissions granted.

NOTE: If you already have an “Order submission” link with the account you wish to link for outsourcing, then you simply go to the Linked Accounts tab and select Edit Permissions on the ellipses (…).

Choose to enable the Outsourcing checkbox. Click Save when done.

Pending Invitations
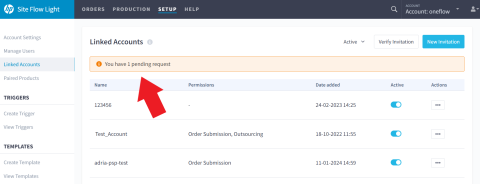
Pending invitations are notified on an orange banner on top of the Linked Accounts list.
Click on it to view all your pending invitations.

The Pending Invitations page opens. All invitations sent are displayed on this page in order of the Date created and contain both the Invitation Code and the Email to which they were sent. If the recipient did not receive the email, you may click Resend (see #1). Click X to delete the invitation (see #2),
NOTE: Invitations expire after seven days.

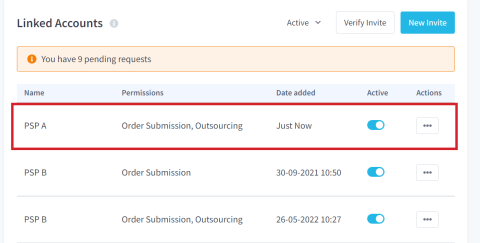
The PSP who receives the request finds a New Request notification.
Click on it to see the list of all currently pending requests.
Here, the requests can be accepted or denied by clicking on the tick or cross icons shown below.

Click Accept Invite to accept the invitation request and enter the verification code sent with the invite.

Click Save to activate the account link with the Brand or PSP.

Once the code has been inserted and saved, the link is active and both PSPs will see each other on their Linked accounts list.
Account verification
UI Account verification
When you are invited to link accounts, you receive an email containing the verification code and several verification options.
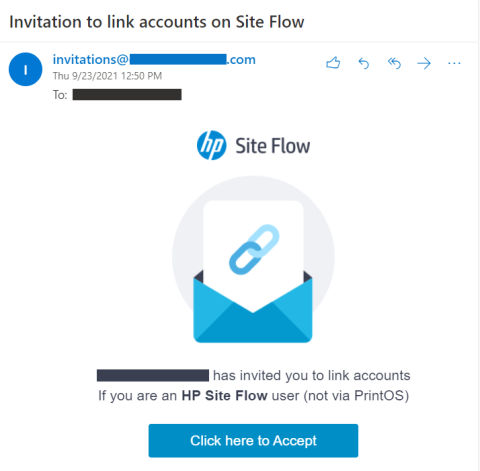
The email gives you the easy option of confirming the invitation by clicking on one of the blue links.
Click Site Flow Light.

The Verify Invitation window opens with the invitation code pre-populated.
Click Verify to accept the invitation.
Once you see the green 'successful verification' message, click Save.

Alternatively, you may verify your invitation manually through the UI.
Scroll to the bottom of the email and copy the invitation code to the clipboard.

Next, go to the SETUP tab and navigate again to Linked Accounts on the left-side menu.
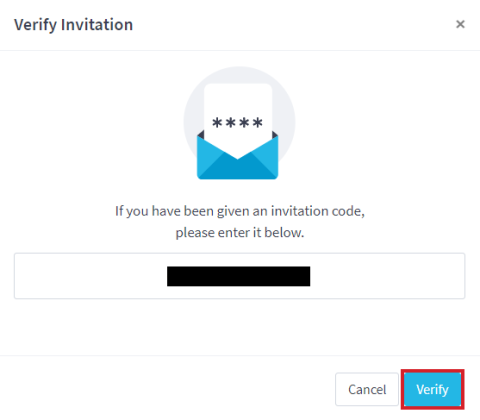
Click Verify Invitation on the top-right side of the page.

The Verify Invitation window opens. Paste the invitation code from the email and click Verify.

Once you see the successful verification message, click Save.

API account verification
Open the invitation email and scroll to the bottom, where you will find the API instructions.
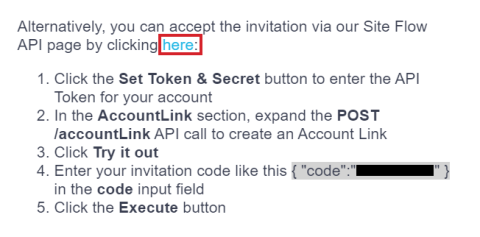
The Site Flow API website opens. Click Set the Token & Secret.

Paste the API credentials into the following fields and choose Save changes.

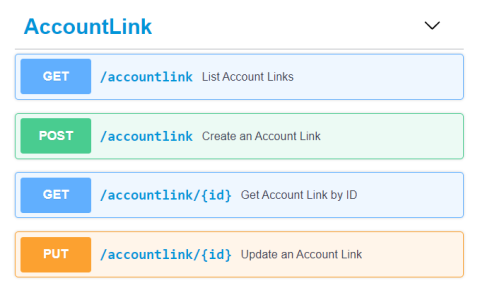
Once the credentials are saved, click AccountLink to expand the options.

Select the POST option next to /accountlink and click Try it out.

Paste the invitation code into the code pen inside the double quotes (see #1), and click Execute (see #2).
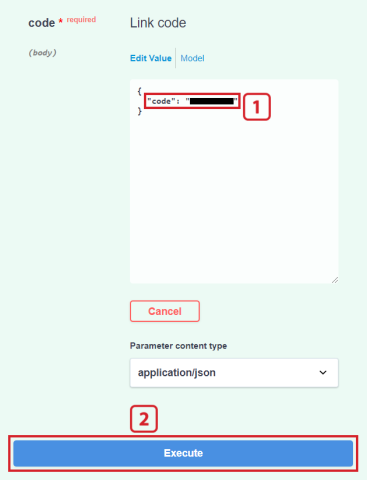
If the call is successful, you will see Code 200 with a description of the successful operation.
The linked account will now display in your UI.

Blocked Orders
Order submission/outsourcing is limited to linked accounts. Orders that do not fulfill this condition will be blocked.
Blocked orders can be found on the View Submission Errors page under ORDER MANAGEMENT, along with an error message with the blocking reason.

NOTE: This error is only be visible to the submitting brand in the form of the following API response:
- Code: 400
- Message: "Link between accounts doesn't exist"
Paired products
The second step after setting the links with other accounts for outsourcing is to pair product SKUs. This functionality allows you to match (pair) the products you wish to outsource. The product SKU pairing is unidirectional. Note that the paired products permission is just a link, no submission will happen just by pairing products.
No Paired Products
When you first access SETUP > Paired Products you will not find any paired product SKUs yet. Once you receive a paired product request, you will see it on the screen.

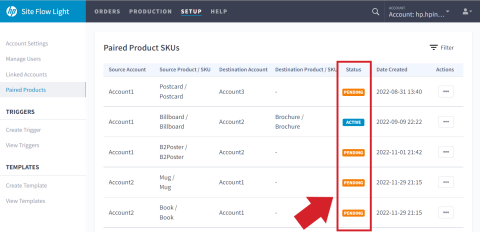
Paired product SKUs
You will see an Active or Pending Status of the product pairing.
Delete / disable
Pairing can always be disabled from both the source and destination PSP.
It can also always be deleted only by the source PSP and at any stage.
To delete a Pending paired product, click the ellipses (...) under Actions and select Delete.

To disable or delete an Active paired product, click the ellipses (...) under Actions and select Disable or Delete respectively.

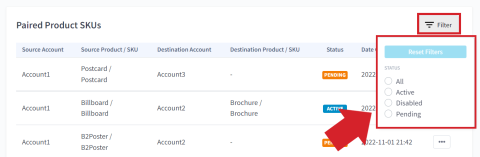
Filter
Select the Filter icon to sort the Paired Products SKUs view based on their Status: All, Active, Disabled, or Pending.
Click Reset Filters to remove all filters.
<< GO TO THE PREVIOUS ARTICLE: Setup || GO TO THE NEXT ARTICLE: Templates & Triggers >>