On this page:
- Your first time on the Console
- Login with HP ID
- Create your Organization
- Create your Application
- Get the client credentials
Your first time on the Console
Before you can start creating your organizations and applications in XR Console, you need to register an account.
Step 1: Navigate to https://omnicept-console.hpbp.io/
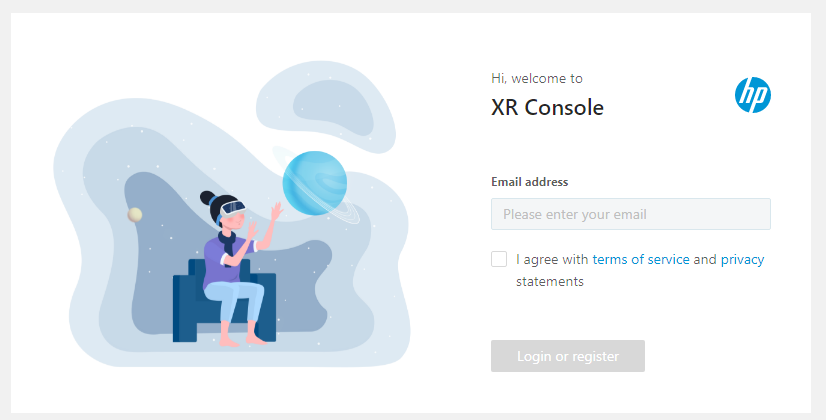
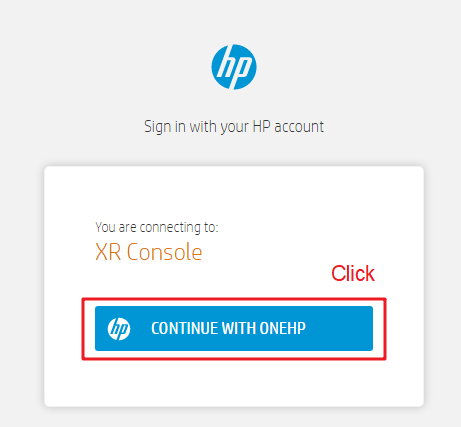
Step 2: Login or Create an HP ID using your company email address.
Step 3: Create your Organization
If you are logging in XR Console for the first time, you will be required to create an organization - this is name of the group for you and your developers, i.e. "HP XR Team" or "XYZ Software."
Upon completion of the registration - good job! - you will enter the XR Console organization list page and see your organization. NOTE: After creating an organization, you will be the ISV-admin and the first user of your organization. This can be changed if needed.

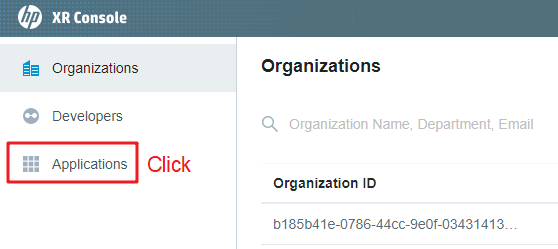
Step 4: Create your Application
Click Applications on the left navigation menu and select +Create on the Applications page.
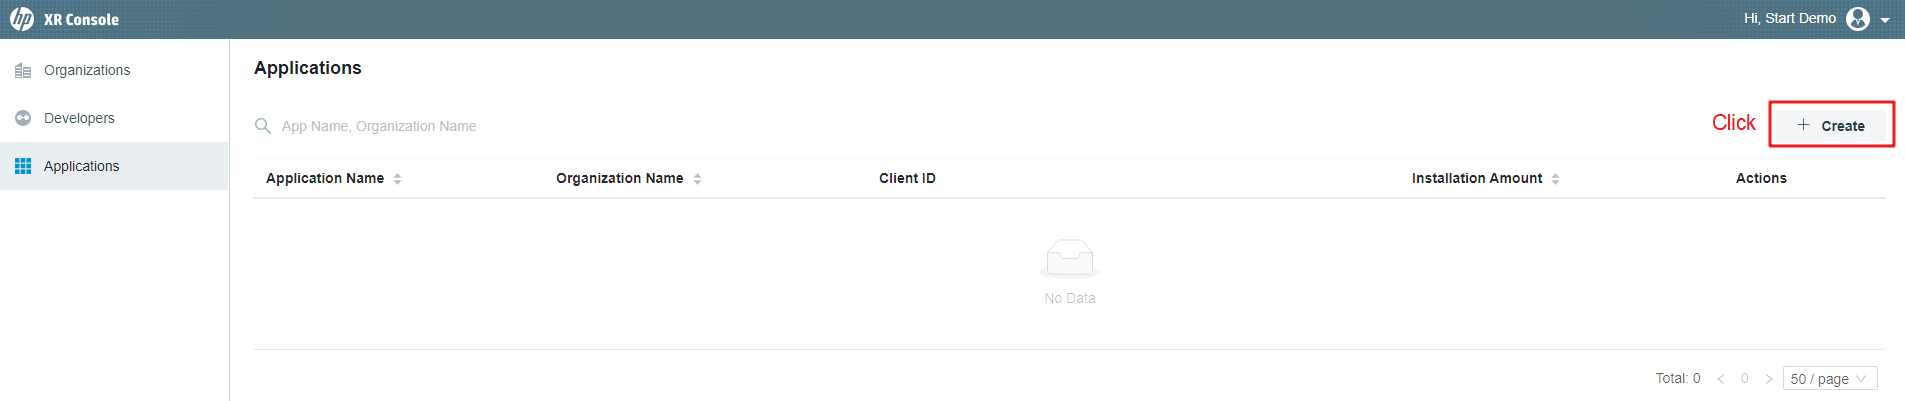
A prompt will appear for you to enter the name of your application, select the organization for this project, and a short description (optional). You will have a pulldown for the company/organization for this application, chose the correct one for this application. (A user can be a member in multiple organizations/companies.)

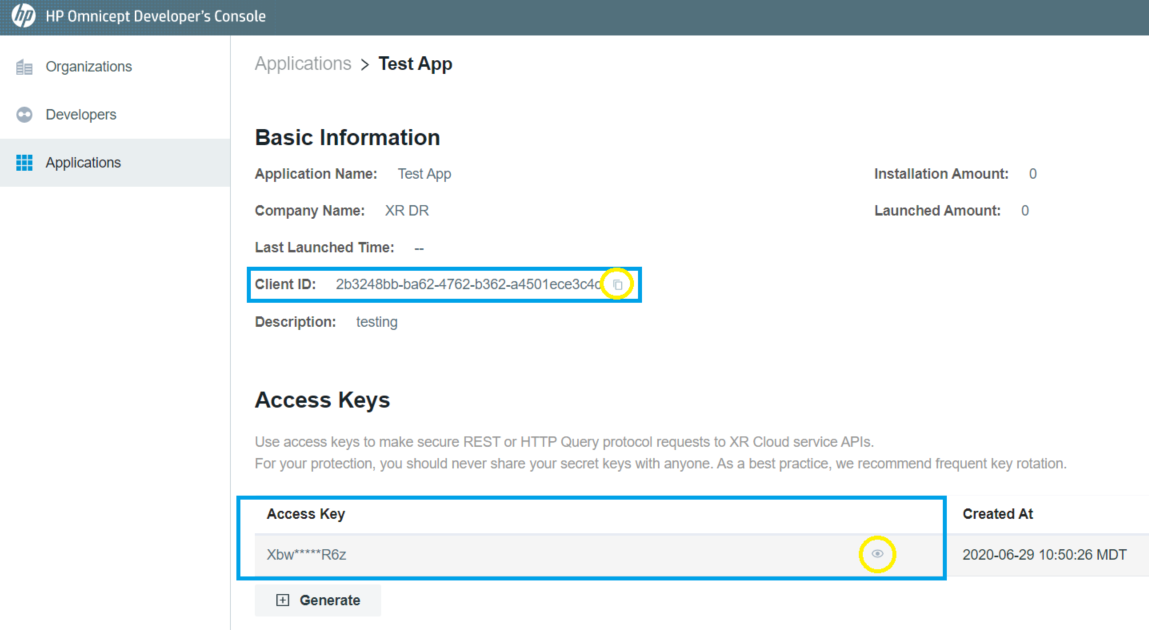
Step 5: Get Client Credentials
Now that you have created your application, collect the client ID, and token credentials that you will enter into Unity or Unreal Engine Glia Plugin settings.
Click your application name when you're navigated to the Applications detail page:

5A. Highlight and copy or copy the Client ID, you can save this to a notepad temporarily. This will be used in your game engine in the next step.
5B. Click the eye button of Access Key to unhide the secret and click the copy image to copy the Access key, save this to your notepad temporarily. This will be used in the game engine as well. Each access key is good for 3 systems, generate more access keys if needed.
For deployment of your application: see Best Practices for more information on storing your Client ID and Secret Key.
Step 6: Installing your Plugin and Adding console credentials to your engine
Now follow the easy steps for completing your Glia setup: choose Unity or Unreal for the specific documentation to your engine of choice.