On this page:
Prerequisites
This tutorial reviews how to install and use the Omnicept framework inside the Unity Engine. We also have a video to check out here on our helpdesk.
Setup
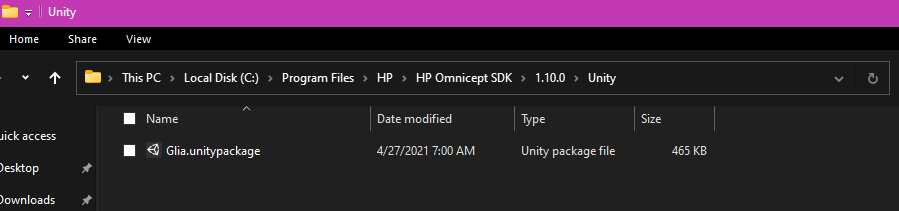
A Unity assetpackage containing all the required files resides in your installation folder for the Omnicept SDK under the Unity subdirectory. To add the plugin to your project, use the custom assetpackage import option in the Unity editor:

Navigate to the HP Omnicept SDK installation (default: C:\Program Files\HP\HP Omnicept SDK\Unity) and select the Glia.unitypackage file.


Select Import to import all necessary files. Once the package is imported you can freely move it to fit your folder structure.
Adding your Omnicept credentials
To use Glia, you must first configure your license for the current project. Select “Glia->Configure” from the menu bar and enter your license information (What is the license information? see Prerequisite: Adding application in the console) in the configuration window. The information is stored as an asset (ScriptableObject) in the Resources folder of your current project. If Glia is not configured, then default port assignment and licensing information are used. This may mean that you will be unable to receive certain message types or your connection to the Glia service will be rejected (see Status Events below).

Once the assetpackage is imported, data from the Glia framework may be accessed either through UnityEvents (GliaBehaviour) or directly in scripts by utilizing the included assemblies.
An HPGlia prefab is provided as an entry point into the Glia framework and must be added to your scene to use the framework. There should only be one prefab in your scene hierarchy at any given time. Additionally, the prefab’s GameObject persists through a scene load using DontDestroyOnLoad() so users do not need to re-add it.

The HPGlia prefab’s GliaBehaviour.cs defines UnityEvents for each sensor type. Scripts elsewhere in the scene may listen for these UnityEvents to allow processing sensor data received from the Glia service.
Please note that the GliaBehaviour UnityEvents will invoke every frame with the last value received from the Glia Service.
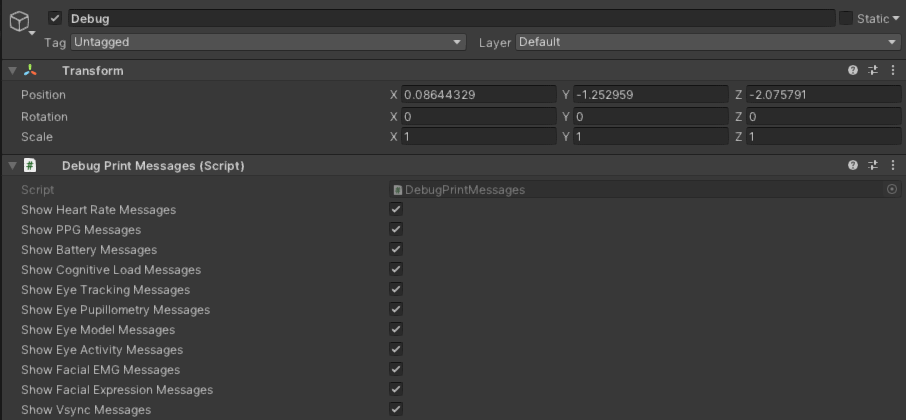
An example debug print script using the GliaBehaviour UnityEvents is located in GliaPlugin/DebugPrintMessages.cs
Testing your setup
Let's check that everything is hooked up.
1. Add the Glia Prefab to your scene (Assets>Glia>Prefabs>HPGlia)
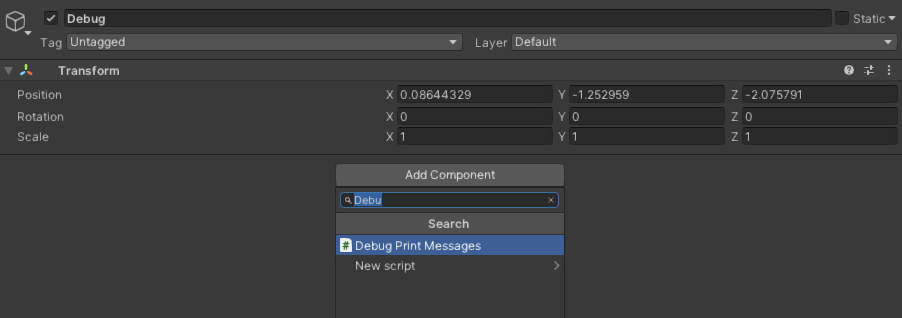
2. Create an Empty Game Object in your Hierarchy, here we named it Debug.
3. Add Component to your game object and search to add Debug Print Messages.
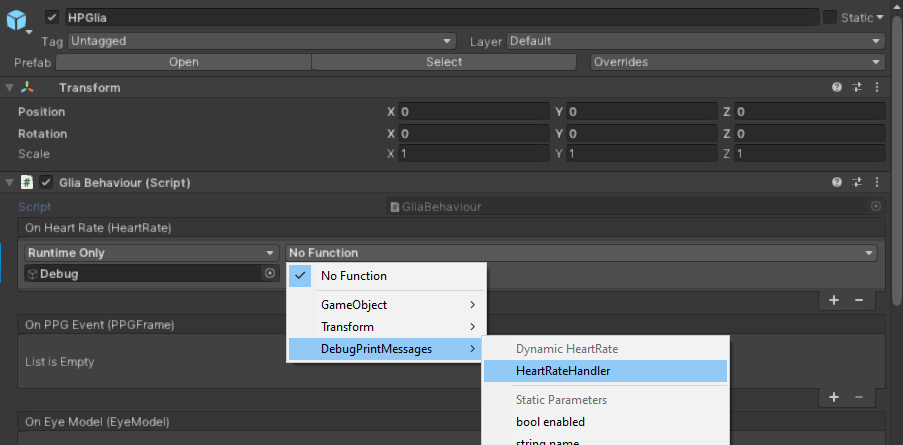
4. On your HP Glia object, add to "On Heart Rate (Heart Rate)" and drag you Debug game object into the parameter and run function DebugPrintMessages>Heart Rate Handler.
5. Save, and hit Play. Watch the debug console for a successful connection to Glia.
6. To test- run the Glia Simulator (search "HP Omnicept Simulator" in Windows search) hit send and confirm that changing simulator values reflect in your debug console view.

Status Events
GliaBehaviour also provides status events about the connection to the Glia service:
OnConnect: The connection to the Glia service is established. The argument is a reference to the GliaBehaviour triggering the event. This event is sent before any message events.
OnDisconnect: The connection to the Glia service is interrupted or lost. When this event is sent, the GliaBehaviour will disable itself and no longer process new messages. The argument is a string detailing the failure.
OnConnectionFailure: The connection with the Glia service could not be established. This normally occurs due to the Glia service is not installed or disabled. Additionally, connections may be rejected due to licensing not being configured or incorrect (see Setup above).
In the case of failure events, if they are unhandled an exception detailing the failure will be thrown and printed to the Unity Console. Example handlers can be viewed in the DebugPrintMessages script
Next steps
Congratulations! You have a working project with Omnicept now you might want to check some examples on how to use glia data or learn some sensor fundamentals.