Understanding of the functionality of the Omnicept Developer Console will be a huge asset to your integration of Omnicept.
-
Shows the status of your licensing
-
Where you access your credentials to add to your application
-
Where you convert your license type from Core
-
Create a new Organization
-
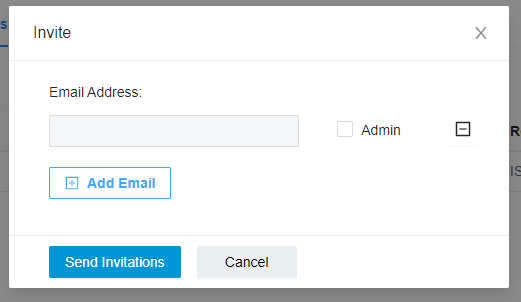
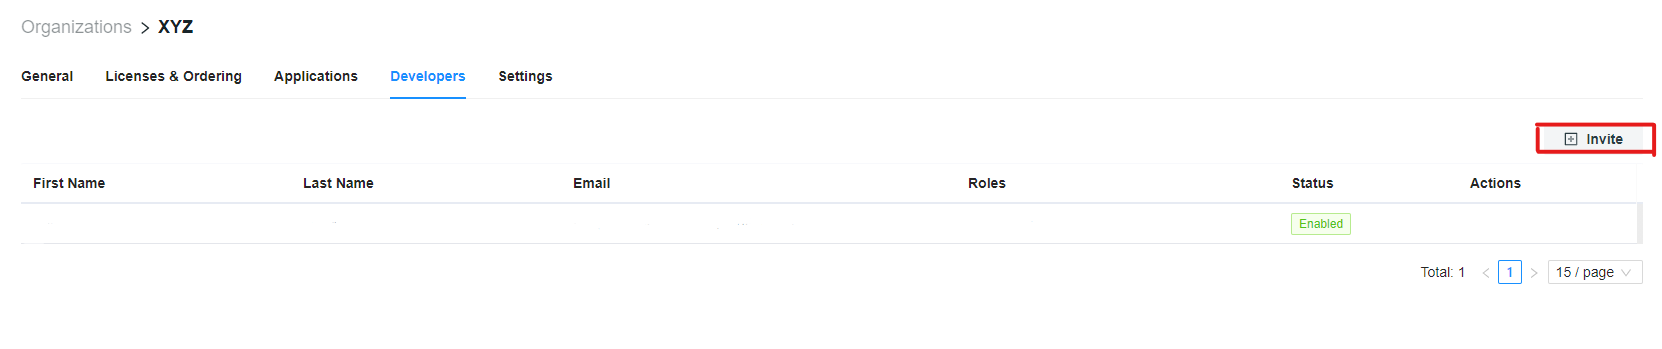
Where you add developers and admins to your organization for Omnicept console access
Converting your license from Core

Login to the Developer's Console and sign up or create a new organization
Please note, once you convert your license type - make sure that your application is using the correct license credentials. The app and client ID will be the same as it was in Core, but the license type will be changed. Your application license type must match what is in the Developer's Console.
Create a New/Additional organization
If you need to use a different license type, you will need to create a new Organization.
Under the Organization tab on the developer's console, select CREATE.
Add developers and admins to your organization for Omnicept console access
For adding a developer head the developers tab and click the invite button:
Invite with an email address, here is also where you decide if they will have admin privileges or they will not. Admin privileges will allow the added user to add others as well as view and edit applications in the Developer Console. Without Admin privileges, the added user can login but not be able to view the application secret keys.